Wondering how to declutter your home on limited time? Use our helpful guides and tips to clean room by room and in 4 weeks you’ll achieve a more organized, decluttered home! 🤩
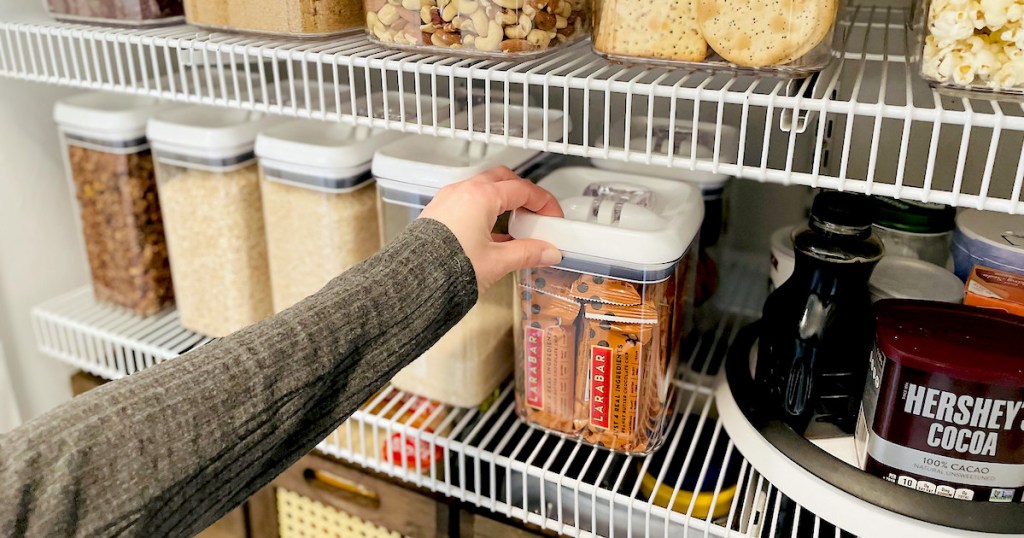
Kiss that clutter goodbye and get organized!
Are you struggling with knowing how to declutter your home? Let us help you get organized! And we’re providing you two FREE printables: the Declutter Your Home checklist and the 4-Week Cleaning Challenge. We’re also sharing our FREE Cleaning Schedule checklist and spilling all our top decluttering tips and tricks!
Let’s get you started on your way to a cleaner, calmer house!
Here’s how to declutter your home:
1. Start with a checklist of things to organize.
If you don’t know how to get yourself started, print out our checklist to help you begin your decluttering journey. It breaks down the process by category, like the KonMari method, rather than by room. This focus makes attacking your clutter much more approachable so you’re not overwhelmed by an entire room’s worth of work.
Hip2Save’s Lina likes to start with tossing out or organizing her kid’s clothing. If you choose to start there too, check out my post about how to fold your clothes using a technique inspired by Marie Kondo. This space-saving folding trick allows you to see ALL the clothes in your closet!
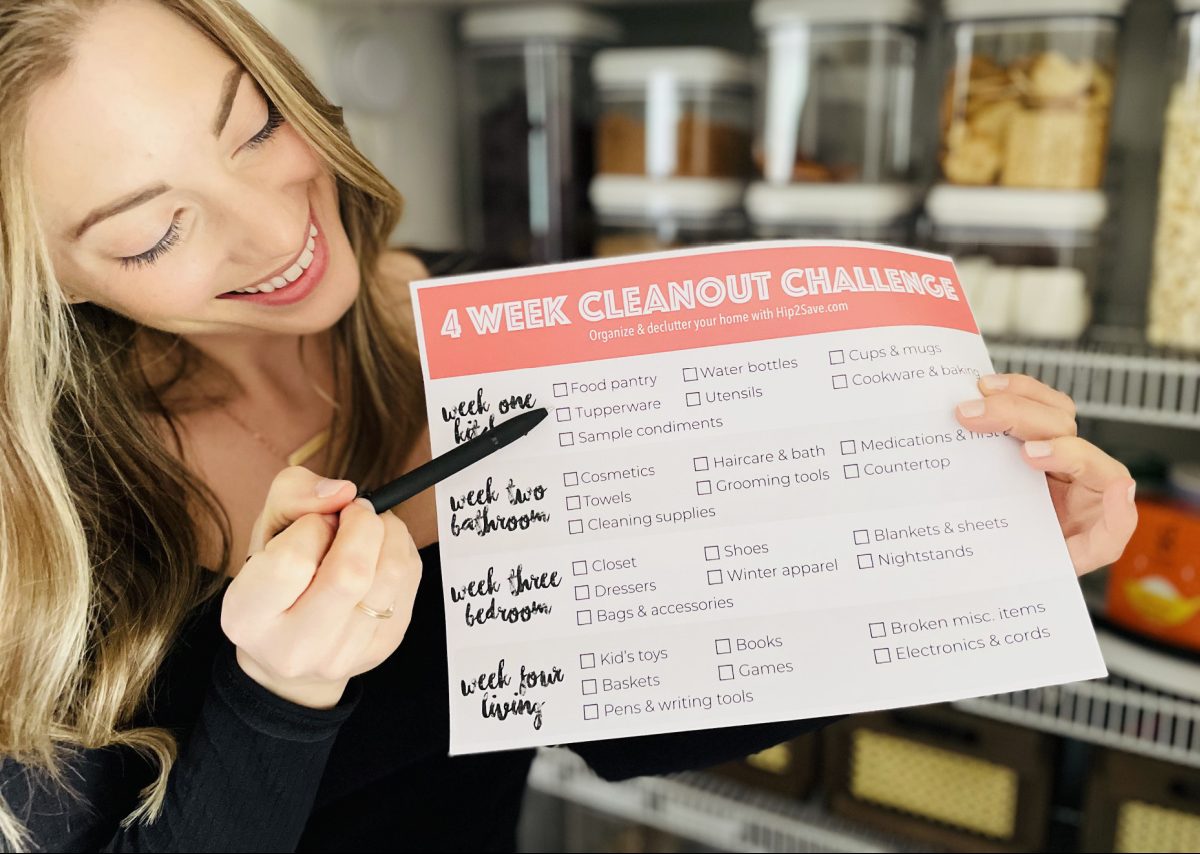
2. Or, take our 4-week challenge and organize by room.
Before you get started…
When cleaning out a pantry, drawer, closet, or cabinet we recommend starting by taking everything out so you can really see what you have. Keep only items you are actively using or that truly bring you joy. Then, toss, recycle, or donate items you no longer use!
We recommend calling anywhere you plan to donate first, to make sure each item can be accepted. Consider donating old towels, blankets, and clothing to animal shelters. Unused toiletries, furniture, canned goods, and gently used clothing may be welcome at homeless shelters or women’s shelters.
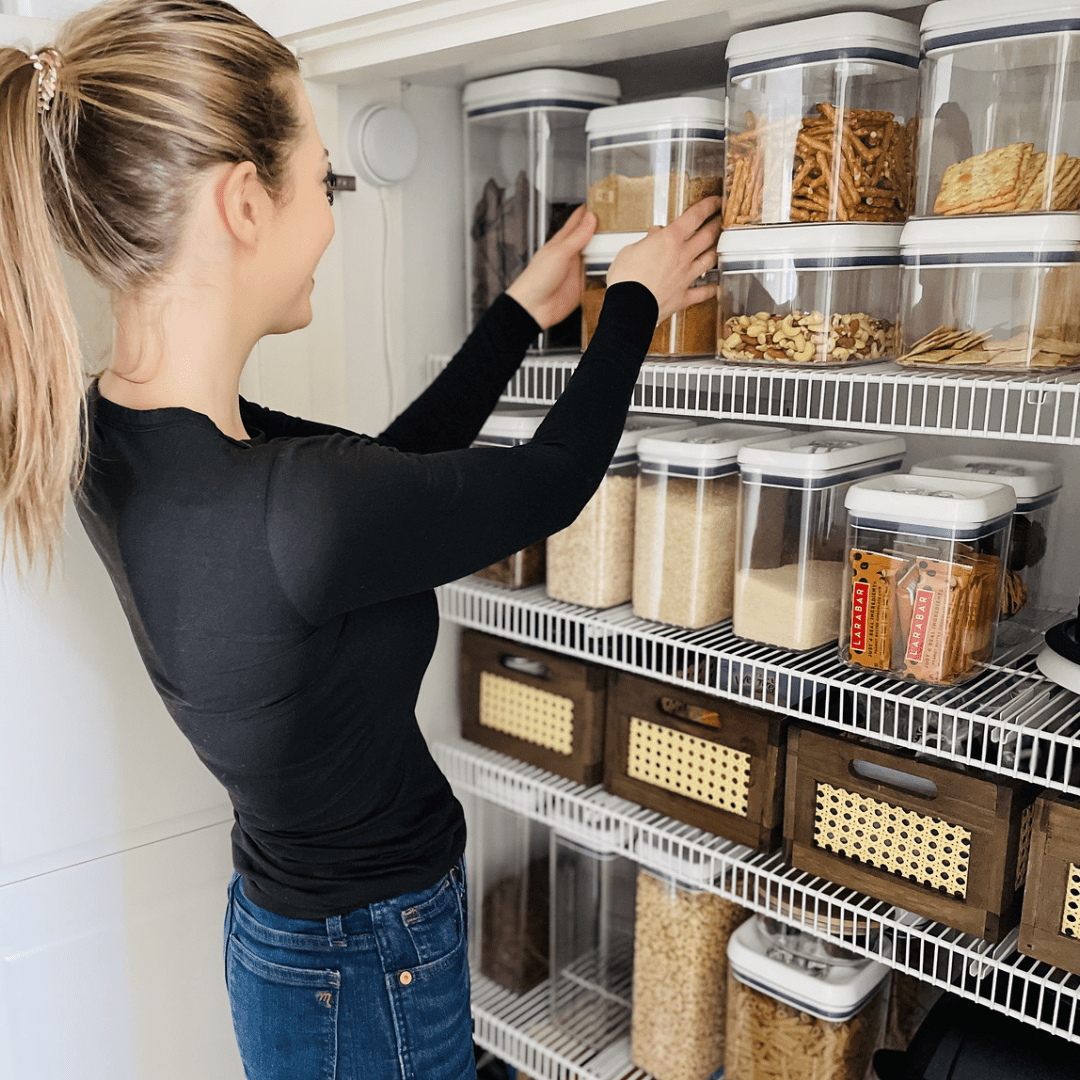
Helpful tips to use when cleaning room-by-room:
Kitchen – Week 1
- Storage containers – Keep about 3 per family member and a few extras if you often have leftovers. Consider buying meal prep containers of the same size as they stack easier. Also, check your warranty on brands like Tupperware as you may be entitled to a replacement set if yours have broken.
- Water bottles – You really only need one great water bottle per family member. If you’re struggling to fit them neatly in your cabinet, try using a water bottle organizer from Amazon.
- Utensils & drinkware – Keep 2 – 3 place settings and glasses, and 1 – 2 mugs per person. Group like items together. Consider buying an adjustable utensil organizer so items stay in place and are sorted by their designated groups.
- Sample condiments – If you’re holding onto sample condiments that you never use, it’s time to toss them.
- Cookware & Bakeware – Match each pot and pan with its designated lid. Aim to keep one matching set of pots and pans, 1-2 muffin tins, small and large baking pan, a set of nesting casserole dishes, and two cutting boards. Place back into the cabinet stacking pots and pans from largest to smallest or use an organizer. Nest casserole dishes and stack cutting boards, baking sheets, and muffin tins on their sides or place them in an upright organizer.
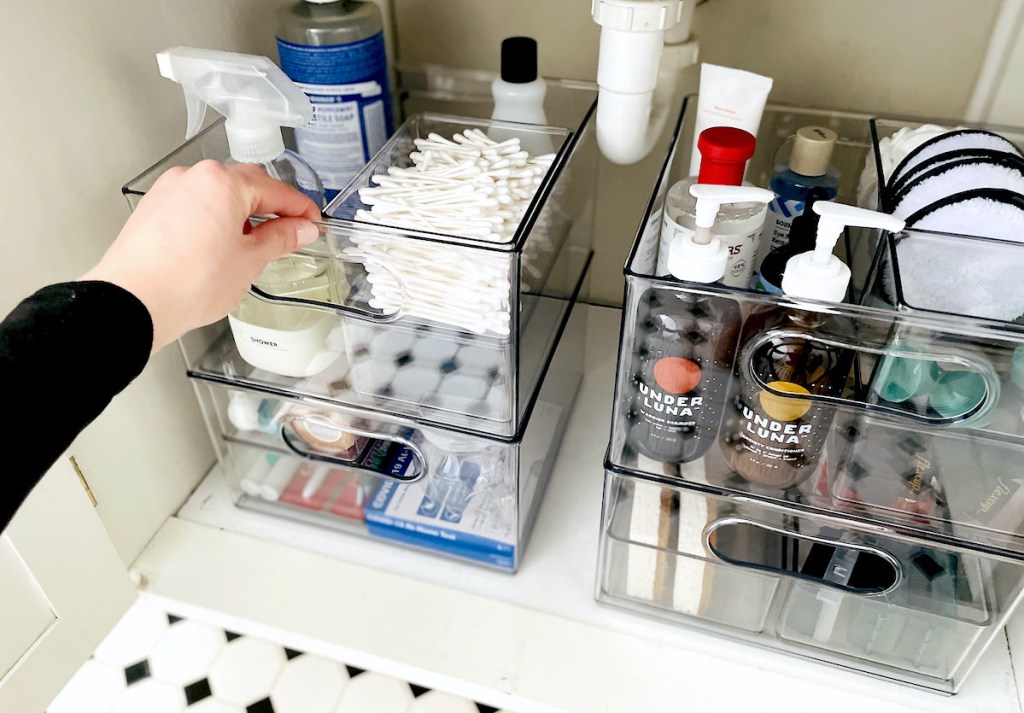
Bathroom – Week 2
- Cleaning supplies – Keep one cleaner for each purpose in your home. Consolidate duplicate cleaners when possible. Place open containers towards the front and group like items together.
- Cosmetics & personal care items – Throw out things that are empty, expired, or haven’t been used in the last 6 months. Consider keeping just 1 item for each purpose (e.g., 1 mascara, 1 face wash). Place makeup brushes in a cup, and other products neatly in a drawer, on a pull-out shelf, or in clear acrylic organizers or baskets.
- Towels – Each person needs 1-2 bath towels and 1 beach towel. Keep 2 extra of each for guests. Fold towels and place in linen closet in even stacks.
- Hair/grooming tools – Keep one grooming tool of each kind. Clean your hair brush and ditch any hair ties losing elasticity. Display with easy-to-hang Command hooks. You can also place scrunchies on a paper towel holder and hair ties on a metal ring.
- Medications & first aid – Check expiration dates and toss anything expired. To organize, group according to purpose and place items on a Lazy Susan, in a basket, or on a cabinet organizer. If keeping, use the bottle with the least amount in it and never consolidate different medications into one bottle.
Bedroom – Week 3
- Closet – Empty entire closet. Create a donate, keep, and trash pile. Keep only what you’ve worn in the last year and items you absolutely love. Assess what you want to hang, fold, or put in storage. Keep like items together and hang in closet by color and season. Wide-brim hats hang great on walls and can double as decor. Use a tie & scarf hanger along with a belt hanger to hang smaller items back into your closet. Place handbags on top shelves or hooks.
- Dressers – Empty drawers. Create a donate, keep, and trash pile. A minimal approach is to keep 1 – 2 weeks’ worth of underwear, 2 – 3 bras (one strapless), 3 sets of pajamas, and no more than 5 t-shirts and 2 sweatshirts. Put similar items together back in their corresponding drawers. Consider using drawer organizers for smaller items like socks.
- Shoes – Keep a staple pair of shoes for each season. Have one solid pair of rain boots, heels, sandals, etc. Toss, donate, or sell your old and unwanted shoes. If keeping, clean them and place on a shelving unit or shoe rack.
- Winter apparel – Match up pairs of gloves or mittens. Sort winter items by type (e.g., scarves, hats) and place in baskets. Keep one each of winter coat, raincoat, and dress coat per person.
- Blankets & sheets – Match each sheet set with its coordinating fitted sheet, flat sheet, and pillowcases. Place neatly into linen closet. Fold blankets and place them in the closet in a basket or on a high shelf (if not used frequently). Each bed in your house needs 1 extra pair of sheets. Keep 2 extra blankets for guests.

Living Room – Week 4
- Kids toys – Keep a mix of educational & fun toys. Donate or recycle any that are broken or have not been used in 3-6 months. Group similar toys together like LEGO blocks, Barbies, and balls. Place grouped items you’re keeping into boxes or bins by category.
- Broken items – Fix immediately or get rid of these, even if they are sentimental. They weigh you down & are better served as memories.
- Electronics & cords – Each household only needs one charging cord per phone or device. Match each cord to its device and properly dispose or donate any extra cords and electronics. Neatly fold cords or put them in an organizer or clip them to their device.
- Books – Take all books off the shelf and dust both them and your bookcase. Decide what to keep and donate. Place the keepers back on the shelf.
- Games – Make a donate, keep, and trash pile. If keeping, organize the box and make sure you have all the pieces. Place in a closet or on a bookcase with large boxes towards the bottom and less-played-with toys towards the top.
3. Donate, recycle, sell, or toss anything that doesn’t make the cut to stay.
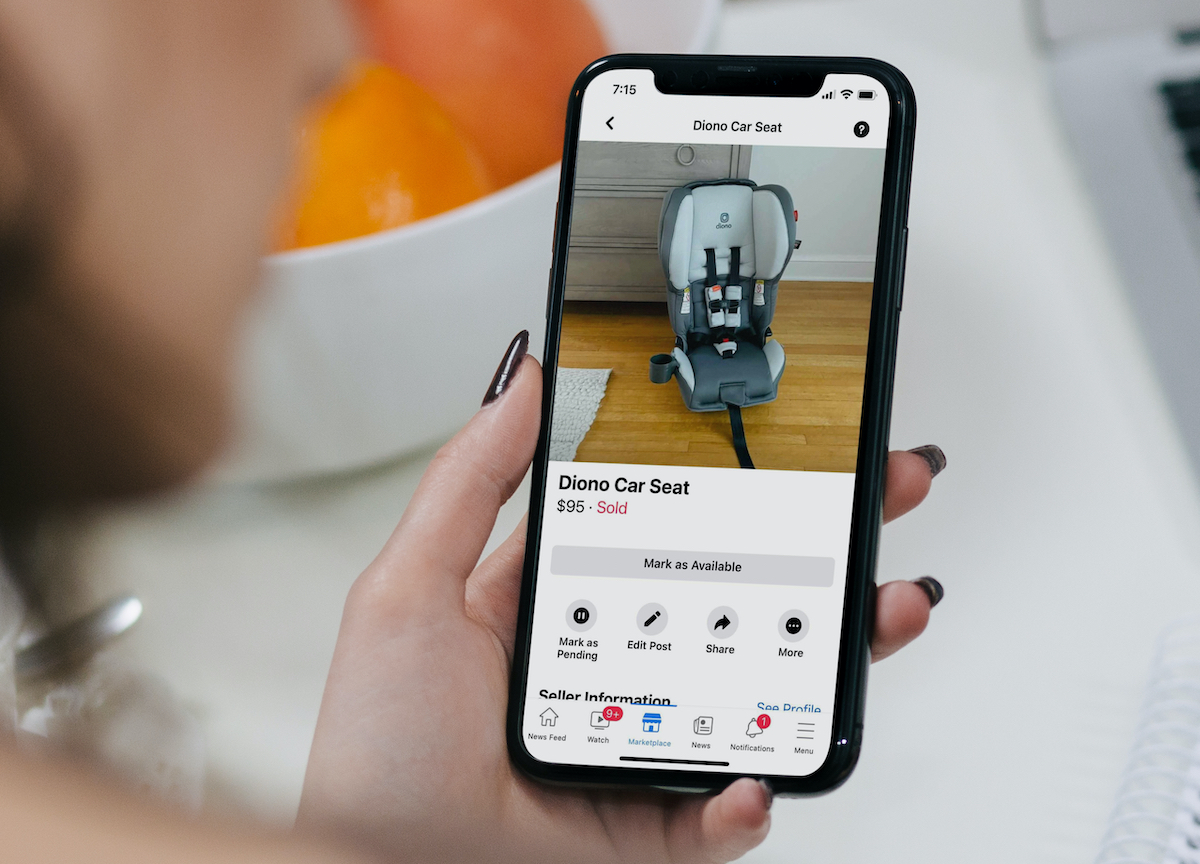
I mentioned this tip early but it’s one I cannot stress enough! One man’s trash is another man’s treasure. Always try to sell, donate, or recycle what you can. If it’s stuff from your kiddos, this is a great opportunity to teach them the importance of giving back, recycling, and avoiding waste.
Some of our favorite options for selling and donating are:
- [Donating] Amazon GiveBackBox — Fill your old Amazon boxes with all the items to be donated and ship it off. Charitable donations allow for small tax deductions* when you file your taxes.
- [Donating] Freecycle – Freecycle is the perfect way to keep things out of the landfill. You just list your item and set up a time for the recipient to come and score their new find.
- [Donating] – Contact your local animal shelter, women’s shelter, homeless shelter, veteran’s organization, or church. Many of these places may accept gently used items and may even take bedding with holes or games missing pieces.
Plus, check out our guide on how to recycle everything!
4. Find fun ways to keep the memory.

Some items are easy to toss. Others, not so much… like your kid’s artwork or greeting cards. For the kiddos, try making a DIY organizer that can house their memories from each school year, like photos, drawings, or A+ work. It’s easy to store away so it doesn’t take up space around the house and you can revisit the memories when they’re older.
You could also make a rotating art gallery where your little Picasso decides which piece is worthy of the spotlight. Any old artwork can either be filed away or tossed when it’s replaced with something new. Too many masterpieces to choose just one? Try creating a galley with these artwork display wall ideas or create a photo memory book to keep all of the art forever!
5. Consume less and avoid buying poor-quality home goods.

One way how to declutter your home is to get rid of poor-quality belongings. We love a good bargain, but sometimes cheap home goods aren’t meant to last forever.
While you save a ton of money upfront on inexpensive items for your home, you’ll likely be replacing them after a few years, which costs you time and money. Instead, figure out which pieces you can buy that will last you a lifetime, such as a well-made cooking vessel, as opposed to a single-use kitchen gadget. Plus, you can pass quality pieces down for generations and I LOVE that!
Hip2Save’s Amber believes in consuming less…
“I religiously follow that book “A Simplified Life” and it’s all about keeping life simple with less clutter so there is more room for the intentional things in life. STUFF creates mental clutter. I personally used to buy stuff to just have it but I have learned over the years that I end up throwing it away or getting rid of it — then I’m mad about how much money was wasted. For me, it’s better to focus on higher quality (for most things) and only buy things that you truly like and enjoy.” — Amber, Hip Sidekick
6. The best way how to declutter your home is to create habits to stop clutter from ever forming.
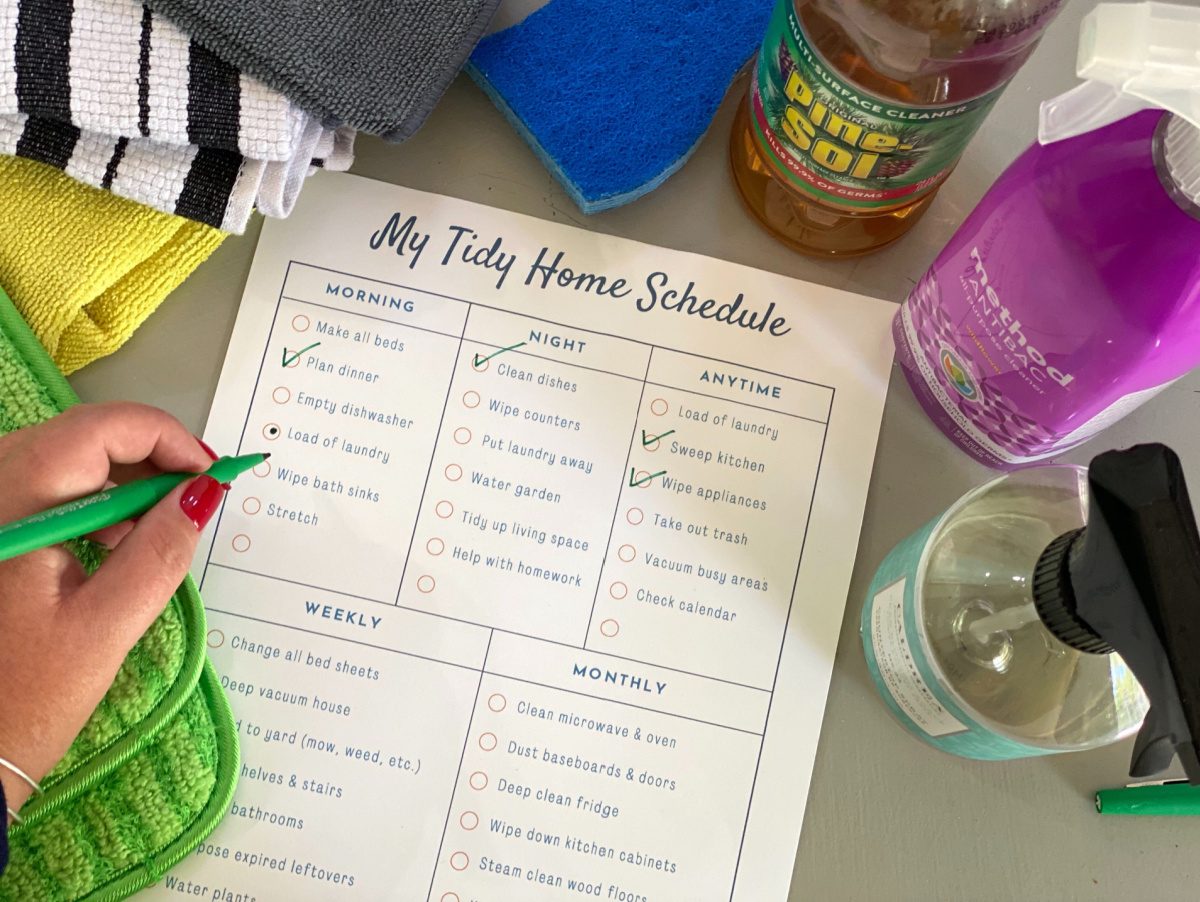
Now that you’ve decluttered your home, it’s time to keep it tidy! One of the easiest ways to fight clutter is to prevent it from ever happening, so we’ve whipped up a handy cleaning schedule printable for you!
This free printable breaks down chores by daily, weekly, and monthly tasks. And by consistently doing these small tasks, the dirt and clutter can’t accumulate!
Don’t forget to visit our Tips page for more ideas on how to organize, clean, and more!
Source link


